Mrs. Wall

This blog is to help teachers (and parents) share and exchange classroom ideas and activities. I love sharing ideas with others, so please let me know if you have any good ideas you would like to tell me about.

Coming Soon!

COMING SOON!
I'm working on a couple of new posts at the moment. One is for a reading work station, and the other is for a writing work station.

Thursday, November 10, 2011

Guess My Food

Descriptive Writing Activity
For a cute hallway piece, this descriptive writing activity can be fun for everyone.  The object is to give the students a picture of food and they must describe it in a way that someone could read their paper and know exactly which food they wrote about.


What You'll Need
  • laminated food pictures (I use my food magazines)
  • long construction paper
  • writing paper


Directions
  •  Give each student a different food picture to write about
  •  Have the students write a descriptive paper about their food, using color, shape, size, texture, taste, smell, etc.
  • Take a long piece of contruction paper and 'hamburger fold' it.
  • Paste the description piece of the outside of the folded construction paper and the food picture on the inside, so you can't see the picture unless you lift up the flap.
The object is to get people who walk down the hallway to try and guess the food from the descriptive writing before they lift the flap to see the food picture.  I call it "What's Cooking?"

Friday, November 4, 2011

Writing Prompts

What Is It?
For a free and effective writing station, all you'll need is a few old magazines.  Simply flip through old magazines that have interesting pictures in them, such as National Geographic, cut out the pictures, and post and laminate them on construction paper.  I type up a short starter prompt with a couple of ideas in case the students need a little nudge to get started and place it on the back of each picture after pasting it to the construction paper.

The students may either choose their own picture to write about, or you could assign them their pictures.  I have my third grade students write at least one notebook page for each picture, and they must follow a simple graphic organizer or rubric for writing to ensure they include all the elements of a solid story.

What Do YOU Think?
I have placed all of my pictures in a box labeled "What Do YOU Think?".  Many of the pictures are very unusual and difficult to tell exactly what is going on in them without the articles they were with in the magazines.  This gives the students a chance to really use their imagination to come up with what THEY think is going on in the photographs.

Thursday, November 3, 2011

Station Sticks

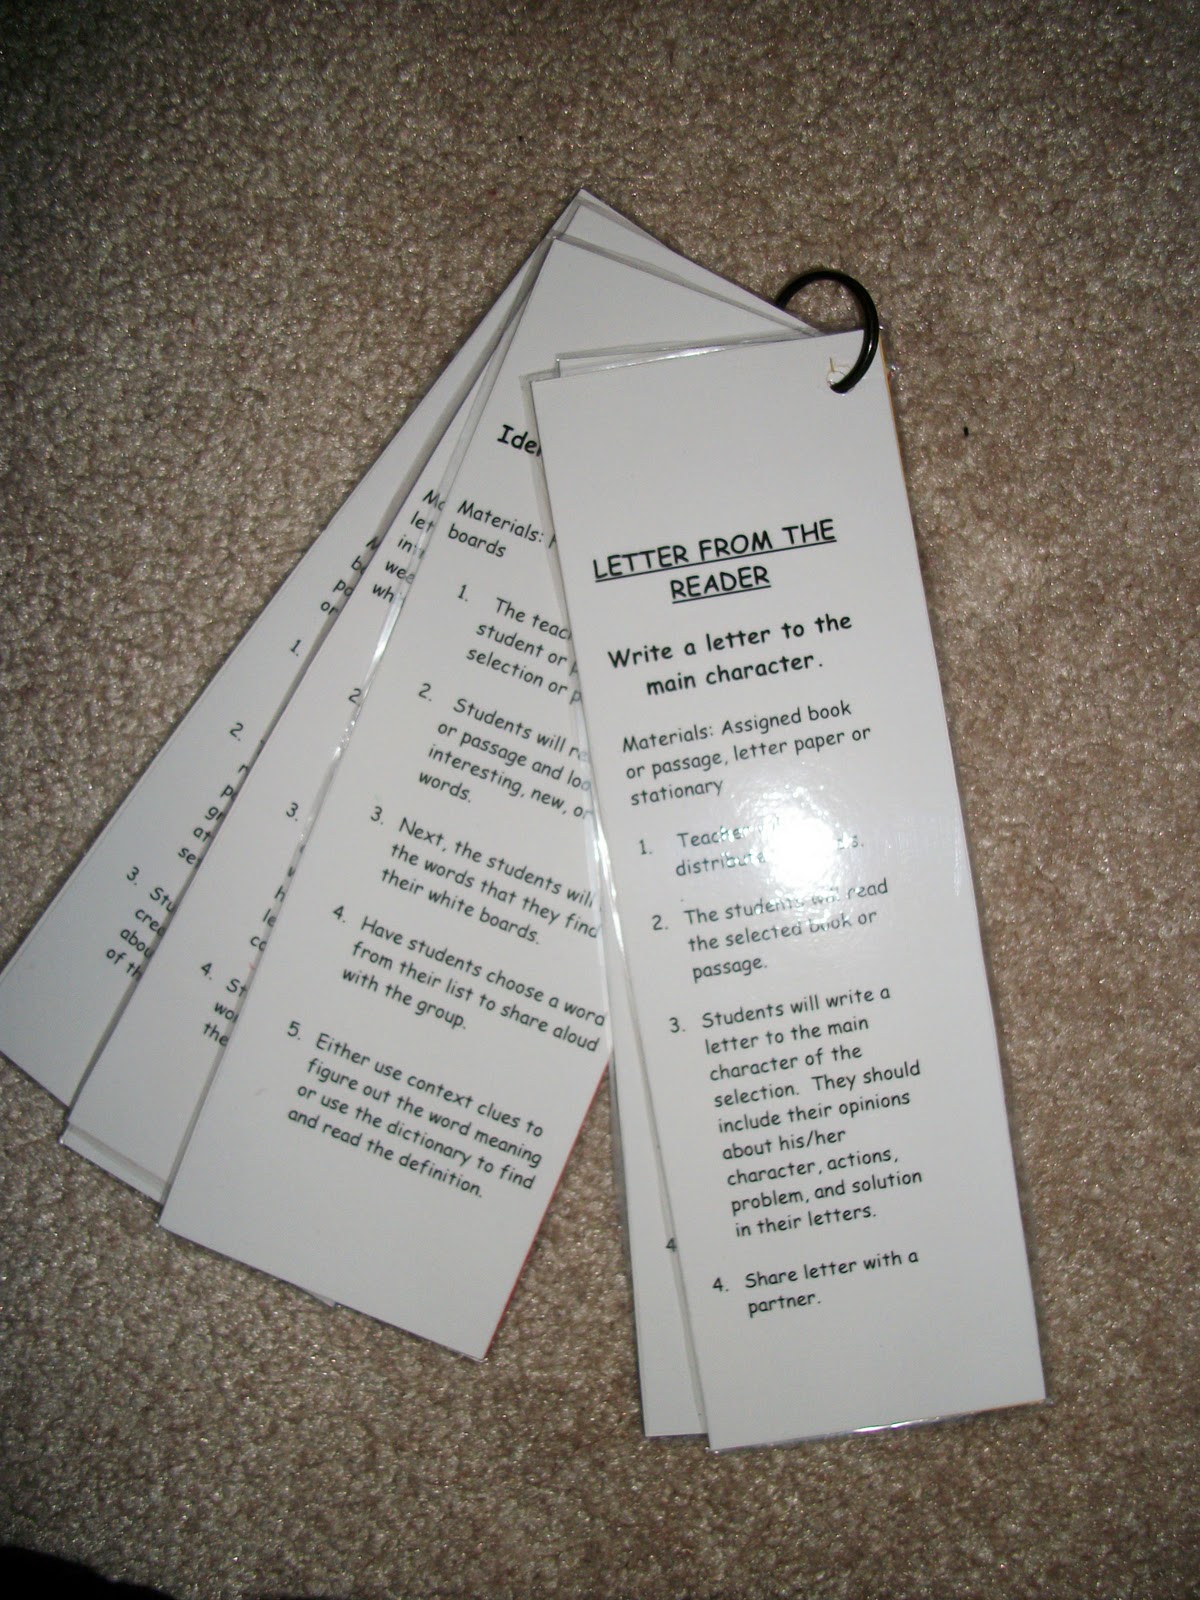
Station sticks are laminated 'sticks' that have specific reading rotation activities on them.  The directions are very self-explanatory, so the students will be able to use them on their own after they have been introduced to them.  You could also have a parent-volunteer use them in small groups, or you could use them yourself in a small group.

You can make as many or as few as you wish, and you can also level the 'sticks' as needed.  I keep my sticks on a ring because I use them myself in my small groups, but you could keep them in a cup and have the students pull 'sticks' if you didn't want to assign certain sticks to specific groups.

I printed out the spis and placed them on the back of each card, which is handy when writing lesson plans or for an evaluation.

The following skills are on my "sticks".  You could put a variety of skills on your sticks, depending on you prefer and what is needed in your classroom.

  • Letter from the Reader (write a letter to the main character)
  • What Do You Hear? (listen for words with 1, 2, or 3 syllables)
  • What's the Word? (Identify interesting or unknown words)
  • Take My Word For It (generate a list of words the contain specific sounds)
  • Fluency (read passages for fluency)
  • Welcome! Welcome! (create a mini-poster advertising the setting of the story or passage)

    Coupon Countdown

    Want a free math work station? This is a good way to get your students to practice their money skills individually or in a small group.  Depending on the group, I may or may not have a parent volunteer help with this activity, but most of the time I have the students do it on their own.

    What is it?
    As a station, the students use coupons and count out money with bills and coins from math manipulative kits.  This station can be leveled easily by doing the following:
    • Students use one coupon, count the change, then have a partner check it
    • Students combine coupons, count the money, then have a partner check it
    • Students use a coupon and count up to a dollar using a hundreds chart to recieve change back
    • Students combine coupons and count up to $5.00 to receive change back, then use a calculator to check their work
    Materials Needed:
    • coupons from the free newpaper
    • contruction paper
    • glue stick
    • scissors
    • laminater
    • money from manipulative kits
    • two ziplock bags (gallon-size)
    Some Assembly Required
    To put these together, simply cut out the free grocery coupons, glue them to construction paper, cut them out, and laminate them.  I keep my coupons in one ziplock back and my bills and coins in another ziplock bag.

    Wednesday, November 2, 2011

    Discovery Center

    The Discovery Center came about during my first year of teaching after a student asked me a question about something, and I didn't know the answer.  I told the class we would look it up and do a little research project on it together.  I ended up typing up a three-page report, putting it up on the bulletin board, and making a few questions for them to answer for extra credit.

    Afterward, I was going to take it down, and the kids wanted me to do another one.  This turned into a weekly project of mine.  I loved putting it all together, and the kids loved doing it.  I eventually, over the course of two years, made enough topics to change them out every single week.  It took some time, but it was worth it.

    Sample Quiz
    What Is It?
    It's a bulletin board that is changed weekly (or almost weekly), which has topics not covered in class.  They are often topics closely related to the curriculum or holiday, but not covered by state performance indicators.  The boards usually have 3 or 4 pages of laminated information on a topic that has been written and tailored for the specific grade level, in my case, third grade.  There is a quiz for each child, which has 5-6 questions.  They have to read the information in order to answer the questions.  This is also good for test-taking skills.
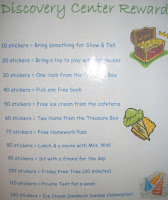
    Rewards Poster
    Who Can Do It and How Are the Questions Assessed?
    Any student who has finished their work is allowed to do the Discovery Center, one student at a time.  It is optional, but the students become a bit competitive over the reward system, so most kids end up doing it.  This is an enrichment tool that can be offered to every child, no matter their ability level.

    I have a poster chart with the student's names on it.  For every question a student gets correct, that's how many stickers they get on the chart.  For each 10 stickers, they receive a reward.  The rewards get bigger and better the more that the students participate and gain stickers.
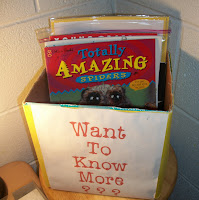
    Discovery Center Book Box
    Supplements
    I made a box called "Want To Know More?" in which I place many different levels of books related to the topic for that week on the Discovery Center board.  Any child is free to read the books from the Discovery Center box, no matter if they have taken the quiz or not.  The way I see it is that perhaps if they are drawn into a book, they are not only reading, but they may be interested in the quizzes, as well.


    Topic Suggestions
    I came up with some topics on my own, based on the related curriculum, but I also have asked my students over the years in what kinds of topics they would be interested.  I have listed a few of the topics below.

    -Carnivorous Plants       -Vikings              -Snakes                  -Spiders
    -Explorers                     -Sharks              -Bats                       -New York City
    -Egypt                           -Ice Cream        -St. Patrick's Day    -St. Valentine's Day
    -George Washington     -Chocolate         -Bunnies                  -Landmarks of the World
    -Volcanoes                   -Human Body     -Butterflies               -Martin Luther King, Jr.
    -Bees                            -Conservation    -The Moon              -Dinosaurs and Fossils
    -Penguins                      -US Symbols      -Me                        -States of Matter

      Tuesday, November 1, 2011

      Story Boards

      Unit 5 - Treasures Reading Series
      Description:
      This is an example of a story board from my classroom. Each board has 5 stories with 5 skill sections.  It is done on day three of the main story selection, so the students have had a chance to hear me read the story aloud, as well as to have read it with a partner at least once.
      The skills that I chose to include on my story board are genre, author's purpose, problem & solution, plot, and main idea.  These were all areas I needed to work on based on past testing results.  Other teachers I know who do story boards have tweaked theirs to suit their own teaching styles and/or needs.

      Materials: reading book, 5 sheets of printer paper cut in half (hamburger fold-style), pencils, crayons & colored pencils, and a timer


      Plot from a non-fiction article
      How It Works:
      • Divide students into 5 groups (these groups remain the same for the entire unit)
      • Assign each group a skill (rotate the 5 skills through the 5 groups over the 5 stories - So Group A will do genre for the first story, author's purpose for the second story, and so on.)
      • Give the students 3 minutes to discuss who will do which jobs during the activity
      • Time them 15 minutes to complete a 'sloppy copy' on one of their half-sheets of paper
      • Time them for 15 minutes to complete the final copy on their other half-sheet of paper
      • Staple the final copies to the story board and have the groups read and discuss their piece with the class
       State Standards:
      This activity takes around 30-45, which seems like a long time.  However, the skills covered each week during this activity are tested on every major benchmark test and achievement test, so it is well worth the time.  My students' scores in these five areas have improved greatly since I've been doing the story board with them because they have a chance to practice the skills every single week with different stories.  All of the skills done on the storyboard are in your state standards.

      Story Board Book
      Tweaking and Tips:
      Of course, if you teach another grade or a specific subject in middle or high school, you would want to tweak the board to suit your needs and goals.  

      I used blue painters tape to make my grid, which stays up all year.  I just take the stapled pieces down once the unit has been completed, and put up new story pictures along the side when it's time to begin a new unit.

      I have taken the story pieces and made them into a book once the unit is completed, which is nice to have to show future students, parents, and other teachers. 

      Plot from a non-fiction article can be difficult since it doesn't tell a story, so I have my students divide the article into three parts; beginning, middle, and end.


      Examples from different stories
      Author's Purpose
      Problem/Solution
      Genre